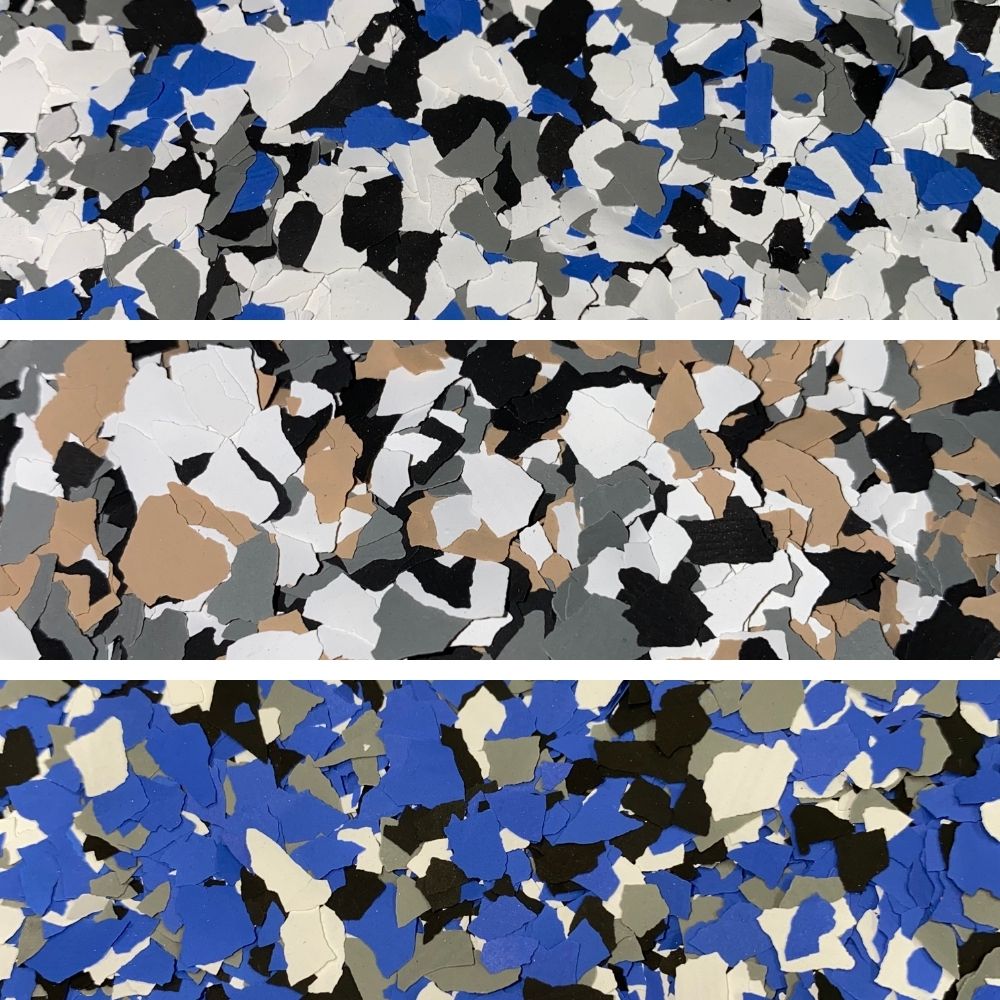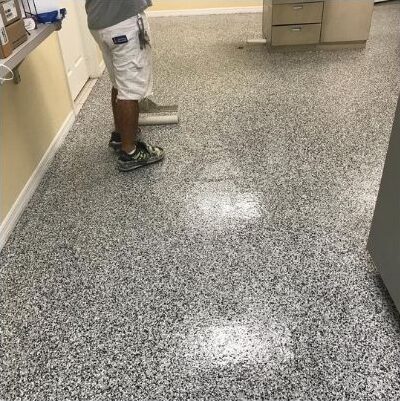
Installing a flake epoxy floor starts with three things: preparing the concrete correctly, applying an even epoxy base coat, and broadcasting decorative flakes before the coating begins to cure. Skipping or rushing any of these steps can lead to thin coverage, visible repairs, poor adhesion, or an uneven finish. The process itself is straightforward, but consistent results come from careful preparation, proper timing, and using products designed to work together as a complete floor coating system.
Materials and Tools Needed for Flake Epoxy Floor Installation
Before opening the epoxy, gather all materials and tools so the installation can move smoothly without interruptions. Having everything within reach helps maintain the coating’s working time and keeps the process organized. Most flake epoxy floor installations call for:
- Epoxy coating system
- Decorative flake blend
- Concrete cleaner and degreaser
- Concrete repair material
- Squeegee, roller frame, and lint-free roller covers
- Shop vacuum, floor scraper, and personal protective equipment
Why Proper Concrete Preparation Is Critical for a Professional-Grade Finish
Proper concrete preparation creates the bond between the epoxy coating and the slab, helping reduce the risk of peeling, bubbling, and uneven wear over time. Preparing concrete for long-lasting floor coatings includes cleaning the surface, creating the proper profile, and identifying damage before the coating is applied, giving every layer a solid foundation.
Repairing Cracks, Pits, and Surface Damage
Cracks, pits, and spalled areas should be repaired before the coating process begins because decorative flakes cannot hide surface defects or restore damaged concrete. Repair concrete damage before applying epoxy to create a smooth, uniform surface that promotes consistent coverage and helps the finished floor maintain its appearance under regular vehicle and foot traffic.
Testing Concrete Moisture Before Installation
Testing concrete moisture before coating helps identify hidden moisture vapor that can interfere with adhesion and curing. Even a slab that appears dry may contain enough moisture to affect the finished floor. Checking moisture levels and applying the coating within the recommended temperature range helps reduce the risk of bubbling, peeling, or other coating issues.
Step-by-Step Guide to Installing a Flake Epoxy Floor
Step 1: Prepare the Concrete Surface and Repair Damage
Begin with a clean, dry concrete surface free of dust, grease, coatings, and loose debris. Complete any crack, pit, or joint repairs, then vacuum thoroughly to remove remaining particles. Before mixing the epoxy, tape off walls, doorways, and other areas that should stay clean, and arrange all tools and materials so the application can move continuously once the coating is ready.
Step 2: Apply the Epoxy Base Coat
Mix the epoxy according to the manufacturer’s instructions, then pour it onto the prepared concrete soon after mixing, as leaving some epoxy systems in the bucket can shorten their working time. Use a squeegee to spread the coating before back-rolling it into an even layer, working continuously to maintain a wet edge. Avoid leaving puddles or thin spots, as both can affect flake coverage. Choosing professional-grade epoxy coatings helps create a durable base for the decorative flakes and clear topcoat.
Step 3: Broadcast Decorative Flakes for Even Coverage
Broadcast ColorFlake Decorative Chips immediately after the epoxy base coat is applied, while the surface remains wet. Apply the flakes by tossing them upward so they fall evenly across the coating instead of dropping them directly onto the floor. Continue broadcasting until the desired coverage is reached, from a light decorative broadcast to full flake coverage. A consistent broadcast creates a more uniform appearance and prepares the surface for scraping, vacuuming, and the clear topcoat.
Hand Toss Method
The hand toss method is popular for residential projects and smaller spaces. Toss small handfuls of flakes upward so they fall naturally onto the wet epoxy instead of throwing them directly at the floor. This technique helps create more even coverage across each section.
Hopper Blower Gun Method
A hopper blower gun is well-suited for larger floors where consistent coverage and faster application are priorities. Fill the hopper with decorative flakes and move steadily across each section while maintaining a uniform broadcasting pattern over the wet epoxy.
Homemade Shaker Method
A homemade shaker can be created using a clean plastic container with small holes in the lid. Shake the flakes lightly over the wet epoxy while moving steadily across each section to build consistent coverage without concentrating flakes in one area.
Step 4: Allow the Floor to Cure Properly
Drying and curing epoxy floors takes time, so follow the manufacturer’s recommended cure schedule before allowing foot traffic, vehicles, or heavy equipment onto the surface. Temperature, humidity, and slab conditions can affect the curing process, making patience just as important as application. Waiting for the full cure helps the floor develop its intended durability and finished appearance.
Step 5: Scrape and Vacuum Excess Flakes
Once the epoxy has fully cured, scrape the floor in multiple directions to remove loose flakes and knock down any flakes standing above the surface. Vacuum thoroughly to remove all loose flakes and debris before applying the clear topcoat. This step creates a smoother, more uniform texture and helps the topcoat bond evenly across the decorative flake layer.
Step 6: Apply a Protective Clear Topcoat
After scraping and vacuuming, apply the clear topcoat evenly across the entire floor to seal the decorative flakes and create a smooth, protective finish. Follow the manufacturer’s recommended application method and coverage rate to maintain a consistent film. If additional traction is desired, incorporate an anti-skid additive and decorative floor accessories that are compatible with the coating system before allowing the floor to cure completely.
Choosing Professional-Grade Epoxy Coatings and Decorative Flakes
Knowing how to install a flake epoxy floor involves more than following the installation steps. Selecting the right products designed to work together as a complete coating system also plays an important role in the finished appearance and long-term performance of the floor. Comparing polyurea vs. epoxy floor coatings can also help narrow down the right solution based on the space, installation timeline, and performance goals. If questions come up while planning your project, contact Legacy Industrial for product recommendations and technical guidance to help select the right coating system for your concrete floor.