Garage floors rarely stay untouched for long. Small cracks, surface wear, and old stains often settle into the concrete long before a coating project begins. Fresh epoxy can look solid on day one, yet weak repairs beneath the surface tend to show up later through peeling, bubbling, or uneven texture. A longer-lasting finish starts with careful floor preparation, thoughtful repairs, and a clear understanding of how concrete conditions affect coating performance.
Why Concrete Crack Repair Matters Before Epoxy
Concrete flaws rarely stay isolated beneath a floor coating. Small cracks, weak surface areas, and old repairs can continue shifting after installation, creating pressure points that affect adhesion and surface consistency. Many coating failures begin long before the coating is applied, especially when damaged concrete is covered too quickly. Properly patching and repairing concrete before epoxy garage floor installation creates a more stable surface for epoxy coatings, helping reduce peeling, uneven curing, and visible repair lines later on.
Types of Concrete Cracks You Should Identify First
Not every crack affects a floor the same way. Some remain cosmetic, while others signal movement or surface weakness that can interfere with coating adhesion and long-term durability.
Hairline cracks
Hairline cracks commonly appear as concrete cures and naturally shrink over time. Although these narrow cracks are usually non-structural, they can still become visible through epoxy coatings later on, after the floor has cured. Repairing them early helps create a smoother surface and reduces the chance of future coating separation.
Surface cracks
Surface cracks typically form from light wear, moisture exposure, or gradual concrete deterioration. While these cracks often remain shallow, damaged surface areas can still interfere with coating adhesion and create visual imperfections after installation. Proper repairs help stabilize the surface before epoxy application .
Expansion joint cracks
Expansion joints are built to handle natural slab movement caused by settling and temperature changes. Because these areas continue moving slightly over time, they need repair materials designed for movement. Using the wrong filler can lead to separation, cracking, or coating failure around the joint line later.
Structural cracks
Structural cracks are usually wider and deeper than surface-level damage and may point to slab movement or foundation stress. These cracks can continue shifting after repairs are completed, which may affect coating performance. Larger structural issues should be evaluated carefully before applying epoxy over the repaired area.
Recommended Concrete Crack Repair Products
Different crack types call for different repair materials. Effective concrete and joint repair starts with matching the filler or patch product to the slab condition before epoxy application begins.
Epoxy vs polyurethane fillers
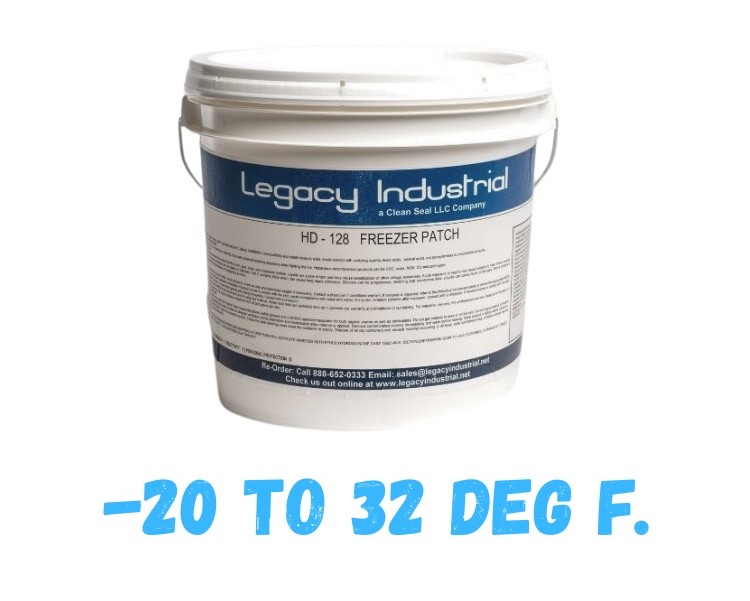
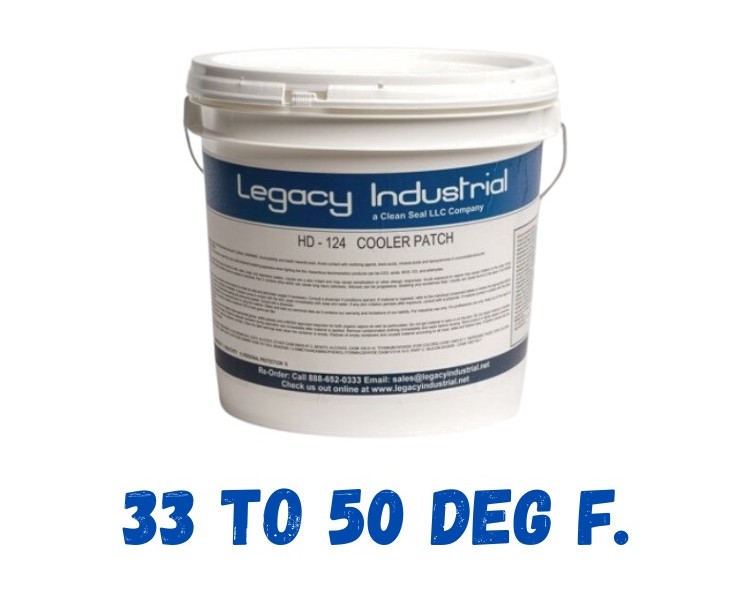
Epoxy fillers work well for rigid repairs, surface damage, and spalled concrete that needs strong compressive strength before coating. Products like HD128 freezer epoxy patch and HD124 cooler epoxy patch are commonly used in temperature-controlled environments. Polyurethane fillers are better suited for joints or cracks exposed to ongoing slab movement and repeated seasonal concrete expansion and contraction over time.

XtremeSet-100 Crack & Joint Filler (deep cracks + movement areas)
XtremeSet-100 crack and joint filler is commonly used for deeper cracks and movement areas that need a semi-rigid repair material before coating application. Its formulation helps stabilize damaged joints while still accommodating slight slab movement that may continue after repairs are completed.
FiveTon® Epoxy Patch Kit (surface damage + spalling repair)
FiveTon® epoxy patch kit is designed for repairing surface damage, pitting, and spalled concrete before epoxy installation. Its high-strength epoxy formula helps rebuild worn areas and creates a smoother substrate for coating application, especially in garages or workspaces exposed to heavier traffic, impact, abrasion, and regular equipment movement.

Step-by-Step Concrete Crack Repair Process Before Epoxy
Strong coating performance starts long before the epoxy is mixed. Careful concrete coating preparation helps create a cleaner, more stable surface so repairs bond properly and the finished floor cures with a more consistent appearance.
Step 1: Open cracks to ensure proper filler penetration
Cracks should be slightly widened before repairs begin so filler materials can penetrate deeper into the damaged area. Narrow surface openings often prevent proper bonding and may leave weak spots beneath the finished epoxy coating system.
Step 2: Clean and degrease the concrete thoroughly
Dust, oil, grease, and old surface residue can interfere with repair materials and coating adhesion. The concrete should be cleaned thoroughly before filling cracks so repairs bond directly to stable, uncontaminated concrete instead of trapped surface debris.
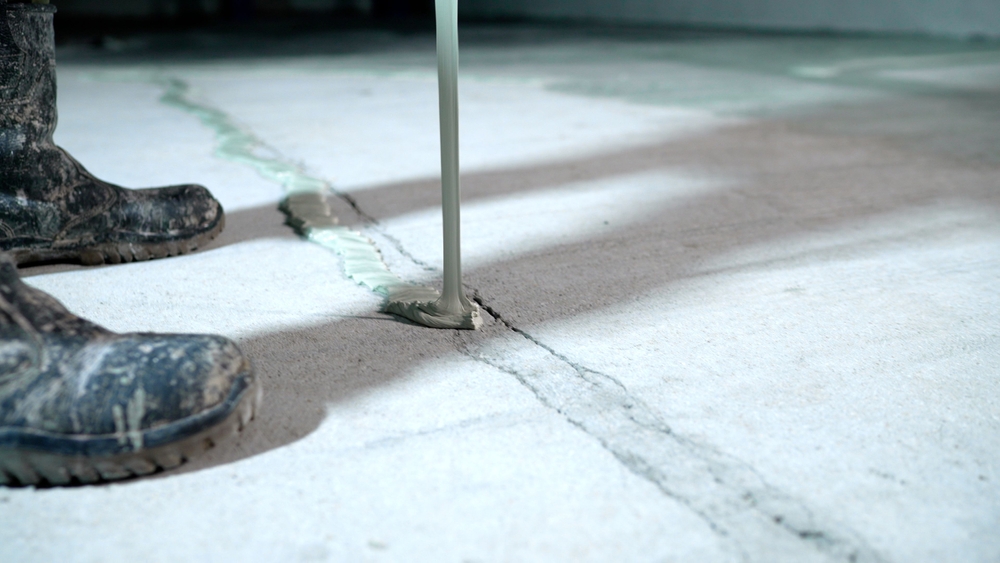
Step 3: Apply crack filler or patch material
Once the surface is cleaned, the repair material can be applied according to the crack type and depth. Deeper movement areas often need semi-rigid fillers, while chipped or spalled concrete typically responds better to high-strength epoxy patch materials before coating begins.
Step 4: Overfill and level the surface
Slightly overfilling repairs helps compensate for settling during cure time. Once the material begins hardening, the repaired area can be leveled to create a smoother transition across the surrounding concrete surface.
Step 5: Allow proper cure time
Repair materials should fully cure before coating begins. Rushing this stage can weaken adhesion later. Following the recommended garage floor epoxy dry time helps create stronger, longer-lasting coating performance.
Step 6: Grind repairs flush with surrounding concrete
Once repairs have cured, the surface should be ground flush with the surrounding concrete. Grinding removes uneven edges, improves coating adhesion, and helps reduce visible repair lines after the epoxy system is fully installed.
Step 7: Final cleaning before coating
After grinding is completed, the floor should be vacuumed and cleaned again to remove dust and residue. Small contaminants can still interfere with coating adhesion and affect the finished epoxy appearance later.
Pro Tips for Better Epoxy Adhesion and Longevity
Small preparation mistakes can affect coating performance long after installation. Careful repair methods and cleaning habits often lead to smoother finishes and stronger long-term adhesion.
Avoid flexible sealants
Flexible sealants may handle movement well, but many coating systems struggle to bond to them properly. Incompatible repair materials can lead to adhesion loss around repaired joints later.
Always grind instead of relying on patch-only repairs
Patch materials alone may leave uneven transitions beneath epoxy coatings. Grinding repairs flush with the surrounding concrete creates a smoother surface and helps coatings bond more consistently across repaired areas.
Work in small batches for better control and finish quality
Repair materials can cure quickly once mixed, especially in warmer conditions. Working in smaller batches helps maintain consistent texture, smoother application, and better control while filling cracks or damaged concrete areas.
Don’t skip surface contamination removal
Oil, grease, and embedded residue can weaken coating adhesion even after repairs are completed. Contaminated concrete often causes peeling, fisheyes, or uneven curing beneath finished epoxy floor systems later.
Final Check: Is Your Floor Ready for Epoxy Coating?
Before coating begins, repaired areas should feel solid, level, clean, and fully cured. Floors with stable repairs typically produce better long-term results, regardless of polyurea vs epoxy garage floor coating selection. Careful preparation often plays a larger role in coating performance than the coating material itself.
Start Your Garage Floor Project with the Right Repair Products
Concrete repairs, coating preparation, and cure times often raise questions before a project begins. Legacy Industrial helps homeowners and contractors navigate product selection, repair methods, and installation steps with practical resources and technical guidance. Contact our team for recommendations before starting a garage floor coating project or reviewing repair materials for damaged concrete surfaces.
